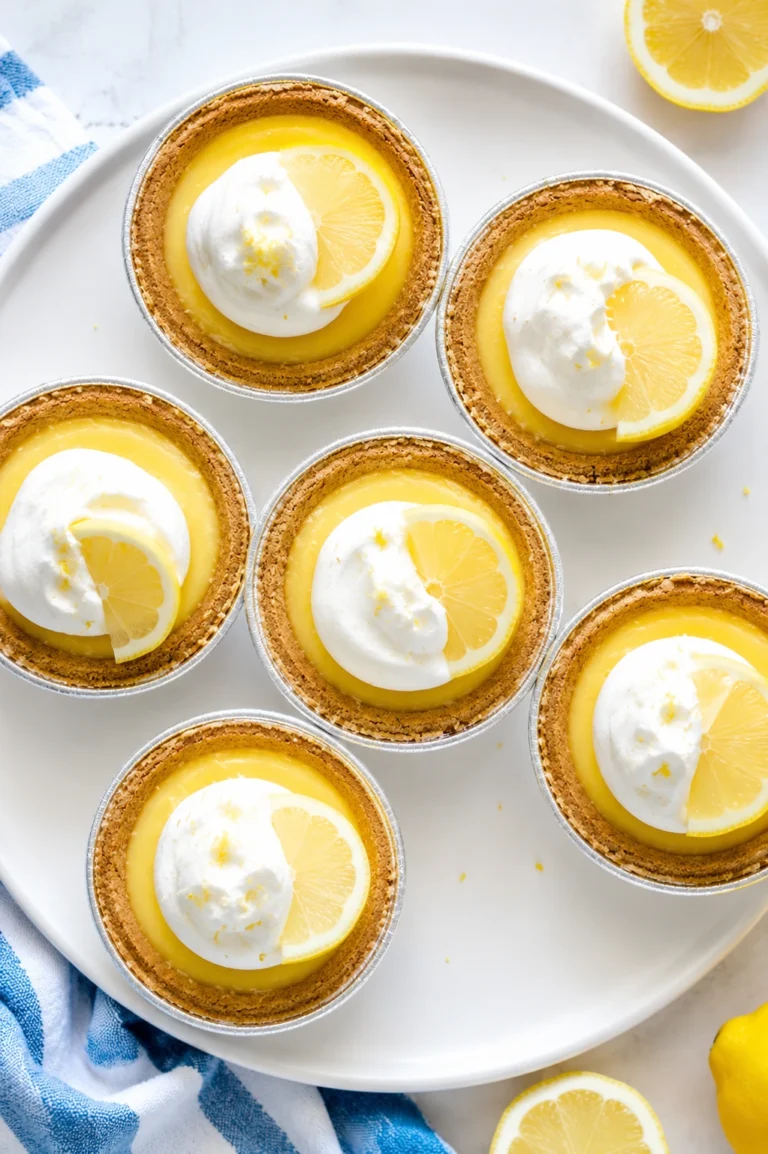
Ingredients
For the Crust
1 ½ cups graham cracker crumbs (about 10–12 full sheets)
½ cup unsalted butter, melted
¼ cup granulated sugar (optional, for a sweeter crust)
For the Filling
1 (8-ounce) block cream cheese, softened
1 (14-ounce) can sweetened condensed milk
½ cup fresh lemon juice (from 2–3 lemons)
1 tablespoon lemon zest (from 1–2 lemons)
1 teaspoon vanilla extract
Pinch of salt
Instructions
1. 1. Prepare the Crust
2. Crush the Graham Crackers: Place graham cracker sheets into a food processor and pulse until you have fine crumbs. Alternatively, put them in a zip-top bag and crush them with a rolling pin. You need about 1 ½ cups of crumbs.
3. Melt the Butter: In a microwave-safe bowl, melt the unsalted butter until fully liquid.
4. Combine Ingredients: In a medium bowl, combine the graham cracker crumbs, melted butter, and optional granulated sugar. Mix everything thoroughly until the crumbs are moist and resemble wet sand.
5. Press into Pan: Press the mixture firmly and evenly into the bottom and up the sides of a 9-inch tart pan with a removable bottom. Use the bottom of a flat glass or measuring cup to help compact the crust.
6. Chill the Crust: Place the prepared crust in the refrigerator while you make the filling.
7. 2. Make the Creamy Lemon Filling
8. Soften Cream Cheese: Ensure your cream cheese is at room temperature. This is crucial for a smooth, lump-free filling.
9. Whip Cream Cheese: In a large mixing bowl, using an electric mixer, beat the softened cream cheese on medium speed until it’s light and fluffy, about 2-3 minutes. Scrape down the sides of the bowl as needed.
10. Add Condensed Milk: Pour in the entire can of sweetened condensed milk. Continue beating on medium speed until the mixture is smooth and well combined.
11. Incorporate Lemon: Add the fresh lemon juice, lemon zest, vanilla extract, and a pinch of salt. Beat on low speed until just combined. Be careful not to overmix once the lemon juice goes in, as it thickens the mixture quickly. The filling will become thick and luscious.
12. 3. Assemble and Chill
13. Pour the Filling: Retrieve your chilled crust from the refrigerator. Pour the lemon filling evenly into the graham cracker crust.
14. Smooth Top: Use an offset spatula or the back of a spoon to gently smooth the top of the filling.
15. Chill Thoroughly: Cover the tart loosely with plastic wrap. Place it in the refrigerator to chill for at least 4-6 hours, or preferably overnight. Chilling is essential for the tart to set properly and become firm enough to slice cleanly.
16. 4. Serve and Enjoy
17. Remove from Pan: Once fully chilled and set, carefully remove the tart from the pan. If using a tart pan with a removable bottom, push it up gently.
18. Slice and Garnish: Slice the No Bake Lemon Tart into wedges using a sharp knife. Garnish with additional lemon zest, fresh berries, or a dollop of whipped cream, if desired.
19. Enjoy!: Serve immediately and savor every bright, creamy bite!
Notes
Pro Tips for Success:
Room Temperature Cream Cheese: This is arguably the most important tip! Cold cream cheese lumps when you try to mix it. Take your cream cheese out of the refrigerator at least an hour before you start, or even longer. Softened cream cheese blends into a wonderfully smooth, uniform filling.
Fresh Lemon Juice is Non-Negotiable: While bottled lemon juice is convenient, it simply cannot compare to the bright, vibrant flavor of freshly squeezed lemon juice. Invest in a few good lemons. Your taste buds will thank you.
Zest with Care: When zesting your lemons, only remove the bright yellow part (the zest). Avoid the bitter white pith underneath. A microplane zester works wonders for this. The zest adds incredible aromatic oils and intensifies the lemon flavor without adding too much tartness.
Don’t Overmix the Filling: Once you add the lemon juice, the filling thickens quite quickly due to the acid reacting with the dairy. Mix only until just combined. Overmixing can sometimes make the filling too dense.
Chill Time is Crucial: Patience is a virtue, especially with no-bake desserts. The 4-6 hours of chilling (or overnight) is not a suggestion; it’s a requirement. This time allows the tart to firm up properly, ensuring neat slices and a perfect texture. If you rush it, the tart might be too soft and runny.
Firmly Press the Crust: A well-compacted crust holds together beautifully. Use the bottom of a glass or a measuring cup to press the graham cracker mixture firmly into the tart pan. Pay special attention to the edges and corners.
Clean Slices: For perfectly clean slices, dip your knife in hot water and wipe it clean between each cut. This creates crisp, professional-looking wedges.
Tart Pan with Removable Bottom: While you can make this in a pie plate, a tart pan with a removable bottom makes serving incredibly easy. You simply push the bottom up, and the tart lifts out beautifully without disturbing the crust.
Storage & Reheating Tips:
Refrigerator: Store any leftover slices of the lemon tart in an airtight container or covered tightly with plastic wrap in the refrigerator. It will stay fresh and delicious for 3-4 days. The flavors actually meld and deepen a little after the first day, so it’s often even better!
Freezer (Not Recommended for Best Texture): While technically you can freeze this tart, I generally don’t recommend it. The creamy filling can sometimes change texture slightly upon thawing, becoming a bit grainy or watery. If you absolutely must freeze it, wrap individual slices tightly in plastic wrap, then aluminum foil, and store for up to 1 month. Thaw in the refrigerator overnight before serving.
Reheating (Not Applicable): This is a no-bake dessert and serves best chilled. You do not need to reheat it. In fact, heating it would cause it to melt and lose its delightful texture. Always serve this refreshing treat directly from the refrigerator. To enjoy the best possible experience, bring the tart out of the fridge about 15-20 minutes before serving. This slight warming can sometimes enhance the lemon aroma and soften the texture just a touch, though it’s perfectly delicious straight from the cold.
What to Serve With This Recipe:
Light & Refreshing Pairings:
Fresh Berries: A simple scattering of fresh raspberries, blueberries, or sliced strawberries adds a beautiful pop of color and an extra layer of fruity sweetness that complements the tart lemon perfectly.
Whipped Cream: A cloud of lightly sweetened homemade whipped cream (or even store-bought, if you’re keeping it simple!) is a classic pairing. Its richness and airiness provide a lovely contrast to the dense, creamy tart filling.
Mint Sprigs: For a touch of elegance and an added burst of freshness, garnish each slice with a small sprig of fresh mint.
Lemon Zest Curls: A few delicate curls of lemon zest make the tart look incredibly professional and boost the citrus aroma.
Meal Endings: Because it’s so light and invigorating, this No Bake Lemon Tart makes an ideal dessert after a variety of main courses. Consider serving it after:
Grilled Chicken or Fish: A simple grilled chicken or a light fish dish, perhaps seasoned with herbs and lemon, would lead beautifully into this tart.
Salads: After a hearty high protein pasta salad or a vibrant mixed green salad, this tart provides a refreshing contrast.
Summer BBQ Fare: It’s the ultimate dessert for a summer barbecue. After something savory like smash burger tacos or hot honey chicken bowls, this lemon tart cuts through the richness and leaves everyone feeling satisfied but not overly full.
Beverage Buddies:
Coffee or Tea: A hot cup of coffee or a comforting herbal tea provides a lovely balance to the tart’s sweetness.
Iced Tea or Lemonade: For a truly refreshing experience, pair it with a glass of iced tea or a homemade lemonade.
Sparkling Water with Mint: A simple glass of sparkling water with a slice of lemon and a sprig of mint offers a palate cleanser that perfectly matches the tart’s light profile.
FAQs about No Bake Lemon Tart:
What makes a No Bake Lemon Tart set without baking?
The magic behind this No Bake Lemon Tart lies in the interaction of the acidic lemon juice with the dairy products, specifically the sweetened condensed milk and cream cheese. The acid from the lemon juice causes the proteins in the dairy to thicken and firm up as it chills. This chemical reaction creates that perfectly set, creamy texture without ever needing an oven.
Can I use bottled lemon juice for this easy lemon dessert?
While you certainly can use bottled lemon juice in a pinch, I strongly recommend fresh lemon juice for the best possible flavor in your easy lemon dessert. Fresh lemons provide a brighter, more vibrant, and complex citrus taste that bottled juice simply cannot replicate. The zest from fresh lemons also adds an incredible aromatic boost that enhances the overall experience.
How long does a No Bake Lemon Tart need to chill?
Your No Bake Lemon Tart requires a minimum of 4-6 hours of chilling in the refrigerator to properly set. For the absolute best results and a firmer, perfectly sliceable tart, I highly recommend chilling it overnight. This extended chilling time ensures the filling fully firms up and achieves its ideal creamy texture.
Can I make this no bake lemon tart ahead of time?
Absolutely! This no bake lemon tart is an excellent make-ahead dessert. You can prepare the entire tart up to 2 days in advance. Store it covered tightly with plastic wrap in the refrigerator. Making it ahead often allows the flavors to meld even further, resulting in an even more delicious treat when you serve it.
How do I get clean slices of the lemon tart?
For perfectly clean, beautiful slices of your No Bake Lemon Tart, use a sharp knife. For each cut, dip your knife into hot water, then wipe it clean with a kitchen towel before slicing. This technique warms the blade slightly, allowing it to glide smoothly through the creamy filling without sticking or dragging, giving you those professional-looking wedges.
- Prep Time: 25 minutes
- Cook Time: 0 minutes
- Category: Dessert
- Method: No Bake, Chilling, Mixing
- Cuisine: American
Nutrition
- Serving Size: 1 slice
- Calories: 403
- Sugar: 30.5g
- Sodium: 180mg
- Fat: 23.5g
- Saturated Fat: 14.4g
- Unsaturated Fat: 9.1g
- Trans Fat: 0g
- Carbohydrates: 41g
- Fiber: 0.6g
- Protein: 4.7g
- Cholesterol: 60mg